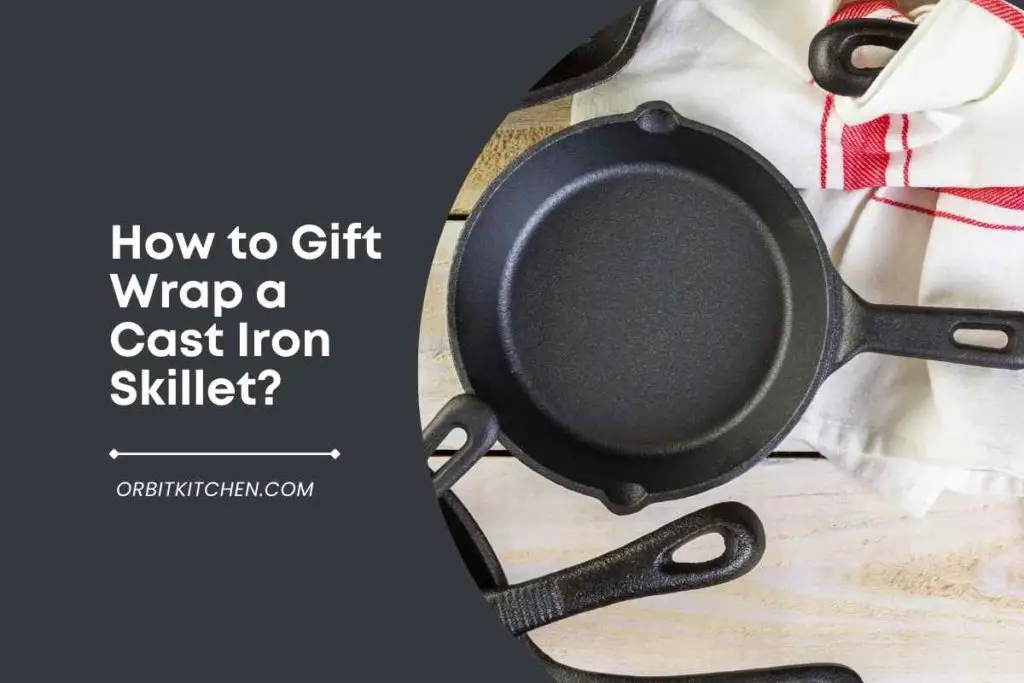
How to Gift Wrap a Cast Iron Skillet?
Gift wrapping a cast-iron skillet may seem daunting, but it doesn’t have to be! With some know-how, you can quickly wrap up your skillet so it’s ready for giving. In this article, we’ll walk you through how to gift wrap a cast-iron skillet.
When it comes to gifting a cast iron skillet, the options are endless. If you’re looking for a unique and thoughtful gift, consider gifting a cast-iron skillet. Here are a few tips on how to gift wrap a cast-iron skillet:
- Choose a festive and durable wrapping paper.
- Make sure to protect the skillet with bubble wrap or packing peanuts.
- Add a personal touch with a handwritten note or a festive bow.
In this guide, we’ll cover everything you need to know about how to gift wrap a cast iron skillet and different ways to wrap the skillet, so keep reading.
If you’re looking to buy the best cookware products, be sure to visit my Recommended Products Page (click to see my page), Which includes all of my top picks by category.
How to Prepare for Wrapping Cast Iron Skillet?
Before you start gift wrapping the cast iron skillet, there are some points that you need to consider:
1. Determine the Size of the Skillet
Start by determining the size of your cast-iron skillet. Boxes come in all sizes; consider a readily available package that suits the skillet size.
The cast-iron skillets are available in different sizes, choose a box that should be large enough to hold your cast iron skillet without any trouble—but not so big that it looks like you’re burying something inside.
Your goal is to wrap up your gift so that when someone receives it on their doorstep or countertop, they will immediately see what it is: A SKILLET!
The best way to achieve this effect is with professional gift-wrapping paper sized appropriately for whatever item you’re presenting.
2. Select the Right Wrap Paper
Now that you’ve selected the right size cast iron skillet, it’s time to pick a paper for your gift wrap. You want something durable and thick enough to protect your cast iron skillet in transit.
You need something that won’t tear easily or wrinkle up in transit. If the paper is too thin, it may not hold up well under pressure (i.e., when tightly wrapped around an object). Selecting a good wrapping paper can be tricky because so many different kinds are available at any given time.
Choosing the wrong one could result in awkwardly shaped gifts, failed origami projects, and lost friends. On top of all this, wrapping paper can sometimes be challenging to find—especially if you don’t have access to an online store like Amazon Prime Pantry!
3. Choose the Right Kind of Scissors
Use durable scissors that are comfortable to hold. When wrapping items such as these, comfort is critical because you’ll be holding onto your materials for longer than usual since there isn’t much room for error in your wrapping skillset!
Make sure that the handle fits comfortably in your hand and won’t slip out when things get sweaty (which they will). Also, make sure they’re easy to clean after use!
You should clean these gifts after each use anyway, so it’s essential not only for safety reasons but also because everyone deserves a clean kitchen implemented every once in a while.
4. Choose the Right Size of Ribbon
The width of your ribbon should be approximately the same as the pan’s circumference (see step 2). If you’re using a thicker paper bag, use a wider ribbon so that it can cover both sides of your gift.
Your ribbon should be long enough to wrap around the skillet at least twice and tie in a bow; this will help prevent tearing during shipping or storage. It’s best to buy some extra just in case: having too much is better than not enough!
You want to ensure that whatever you use as a bow can go around both sides at least once—this prevents tearing when used or moved around by accident.
5. Make Sure to Cut the Ribbon at an Angle
Use one piece of ribbon, folded in half and placed on top of the gift with a bit of slack. Wrap both ends around, creating loops (there should be three loops in total).
Hold tight to one end and pull it through itself, ensuring there is no slippage under tension as this could cause unraveling later! You might need some help from someone else if you can’t do it alone.
Once you get halfway through your looping process, start pulling down gently until all three loops meet together into one knot at their center point from which you initially separated them.
6. Tie the Ribbons in a Bow
Once you have finished wrapping your skillet, it’s time to tie the ribbons for presentation. Once again, this step is optional, but I highly recommend it because it makes for an excellent presentation and adds an extra layer of flair.
You can tie the bow in various spots on your gift depending on what seems most aesthetically pleasing to you: the middle of the paper, the middle of the ribbon, or even the center of the box. The best spot will vary based on how big your skillet is relative to other items in its container (so keep that in mind when making any decisions).
How to Gift Wrap a Cast Iron Skillet?
Following is the detail of the material you need for cast iron skillet wrapping:
1. Gather Your Supplies
Here is the list of supplies to gift wrap the cast iron skillet:
- Cast Iron Skillet: Lodge Cast Iron Skillet is affordable and durable.
- Gift paper: Gift wrap paper (or any decorative paper you like)
- Ribbon or String: Consider ribbon or string for tying around the package.
- Gift Tag: A gift tag with your message on it. I like to use Koogel Gift Tags.
- Gift Box or Bag: An appropriate box to put your cast iron on is essential. Consider BLK&WH Gift Boxes as they are suitable for large gifts and have a wide range of sizes.
2. Make the Wrapping Paper
Cut the wrapping paper to size. Depending on the dimensions of your cast iron skillet, you’ll want to choose a piece of wrapping paper that fits it snugly. Most paper is about 10 inches by 10 inches (25 cm x 25 cm).
So if your skillet is smaller than this, you can use multiple pieces of paper and tape them together on the back. If your skillet is more significant than this, don’t worry—the best thing about using wrapping paper for a gift wrap project is that it doesn’t have to be perfect!
Wrap up all four sides of the cast iron with its wrapping paper section. Using scotch or double-sided tape (if available), secure one end of each side in place, and then work your way around until all four sides are wrapped tightly.
3. Wrap the Pan
We recommend using a piece of wrapping paper more prominent than the pan, so you can fold it in half and then half again to cover the sides completely. If you do not have enough wrapping paper, consider buying a roll of brown craft paper or butcher’s paper from your local art supply store.
These types of papers are thick enough to conceal gaps between the cast iron pan and its covering material but still thin enough to be easily folded around your skillet with minimal creasing or wrinkling!
4. Place the Skillet in the Gift Box or Bag.
Once you’ve wrapped the skillet, place it in the box. If you’re unsure where to get a box, don’t worry—you have many options. Most grocery and department stores sell them for less than $5, which are reusable!
Now that your cast iron skillet is secure, place the bag over the top and tie it shut with a ribbon or string of your choice! You can use any color or pattern (but only if you want). You’ve just finished giving one of the best gifts: an heirloom-quality cast-iron skillet for someone who loves to cook as much as you do!
4. Tie the Ribbon or String Around the Skillet.
Tie the ribbon or string around the skillet. You can use any sort of ribbon, twine, or string. If you tie a bow knot, use a glue gun to keep it from unraveling.
5. Put on the Gift Tag
It’s always a good idea to write a gift tag. This also applies when you want to add some more panache to your cast iron skillet wrapping. You can attach a ribbon or bow around the skillet’s handle to make it look extra special.
If you have kids, they will enjoy helping with this part too! Now all that’s left is for you to give your friend or family member their new treasure and watch them unwrap it with excitement!
6. Place the Gift
The best way to do this is to place the skillet in a padded gift box. You can find these boxes at most craft or packaging stores. Once you have the box, line it with bubble wrap or other padding material, then fill the remainder of the box with more padding material. Close the box and secure it with tape.
Bonus Tips:
Here are five ways different ways to gift wrap the cast iron skillet:
1. Wrap the Skillet in Wax Paper
2. Wrap the Skillet in Plastic Wrap
3. Wrap the Skillet in Aluminum Foil
4. Wrap the Skillet in Newspaper
5. Wrap the Skillet in Bubble Wrap
Conclusion
There you have it: the basics of how to gift wrap a cast iron skillet. It’s an easy process with just a few steps, but it requires some thought and planning for your gift wrap to be perfect.
The key takeaway from this article should be that you don’t need fancy scissors or expensive paper; these items will make it easier on yourself when wrapping up your item! We hope you found this helpful—if so, please share with friends looking for tips on how best to wrap up their gifts!
If you are interested in the best kitchen products and accessories, be sure to visit my Recommended Products Page (click to see my page), Which includes all of my top picks by category.